Board Tabletop x Foundry VTT Setup GuideUpdated 14 days ago
Setting Up Board Tabletop with Foundry VTT
A step-by-step guide to connecting your Board to your virtual tabletop campaign
Before You Begin
To set up Board Tabletop with Foundry VTT you’ll need:
• A PC or Mac computer that will run Foundry VTT during your game session.
• A Foundry VTT account — if you don't have one yet, create one at foundryvtt.com.
• A purchased Foundry VTT license (required to run the Foundry software).
• Foundry VTT installed (up to version 14.364) — download it at foundryvtt.com and choose the version for your operating system.
For questions about Foundry VTT and Foundry VTT licenses, see here. If you’d like more information about using Foundry VTT as a Game Master, check out this article.
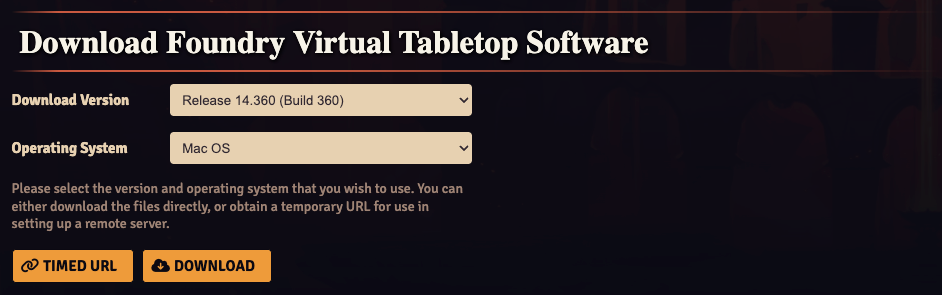
Step 1: Install the Board Tabletop Module & Game System
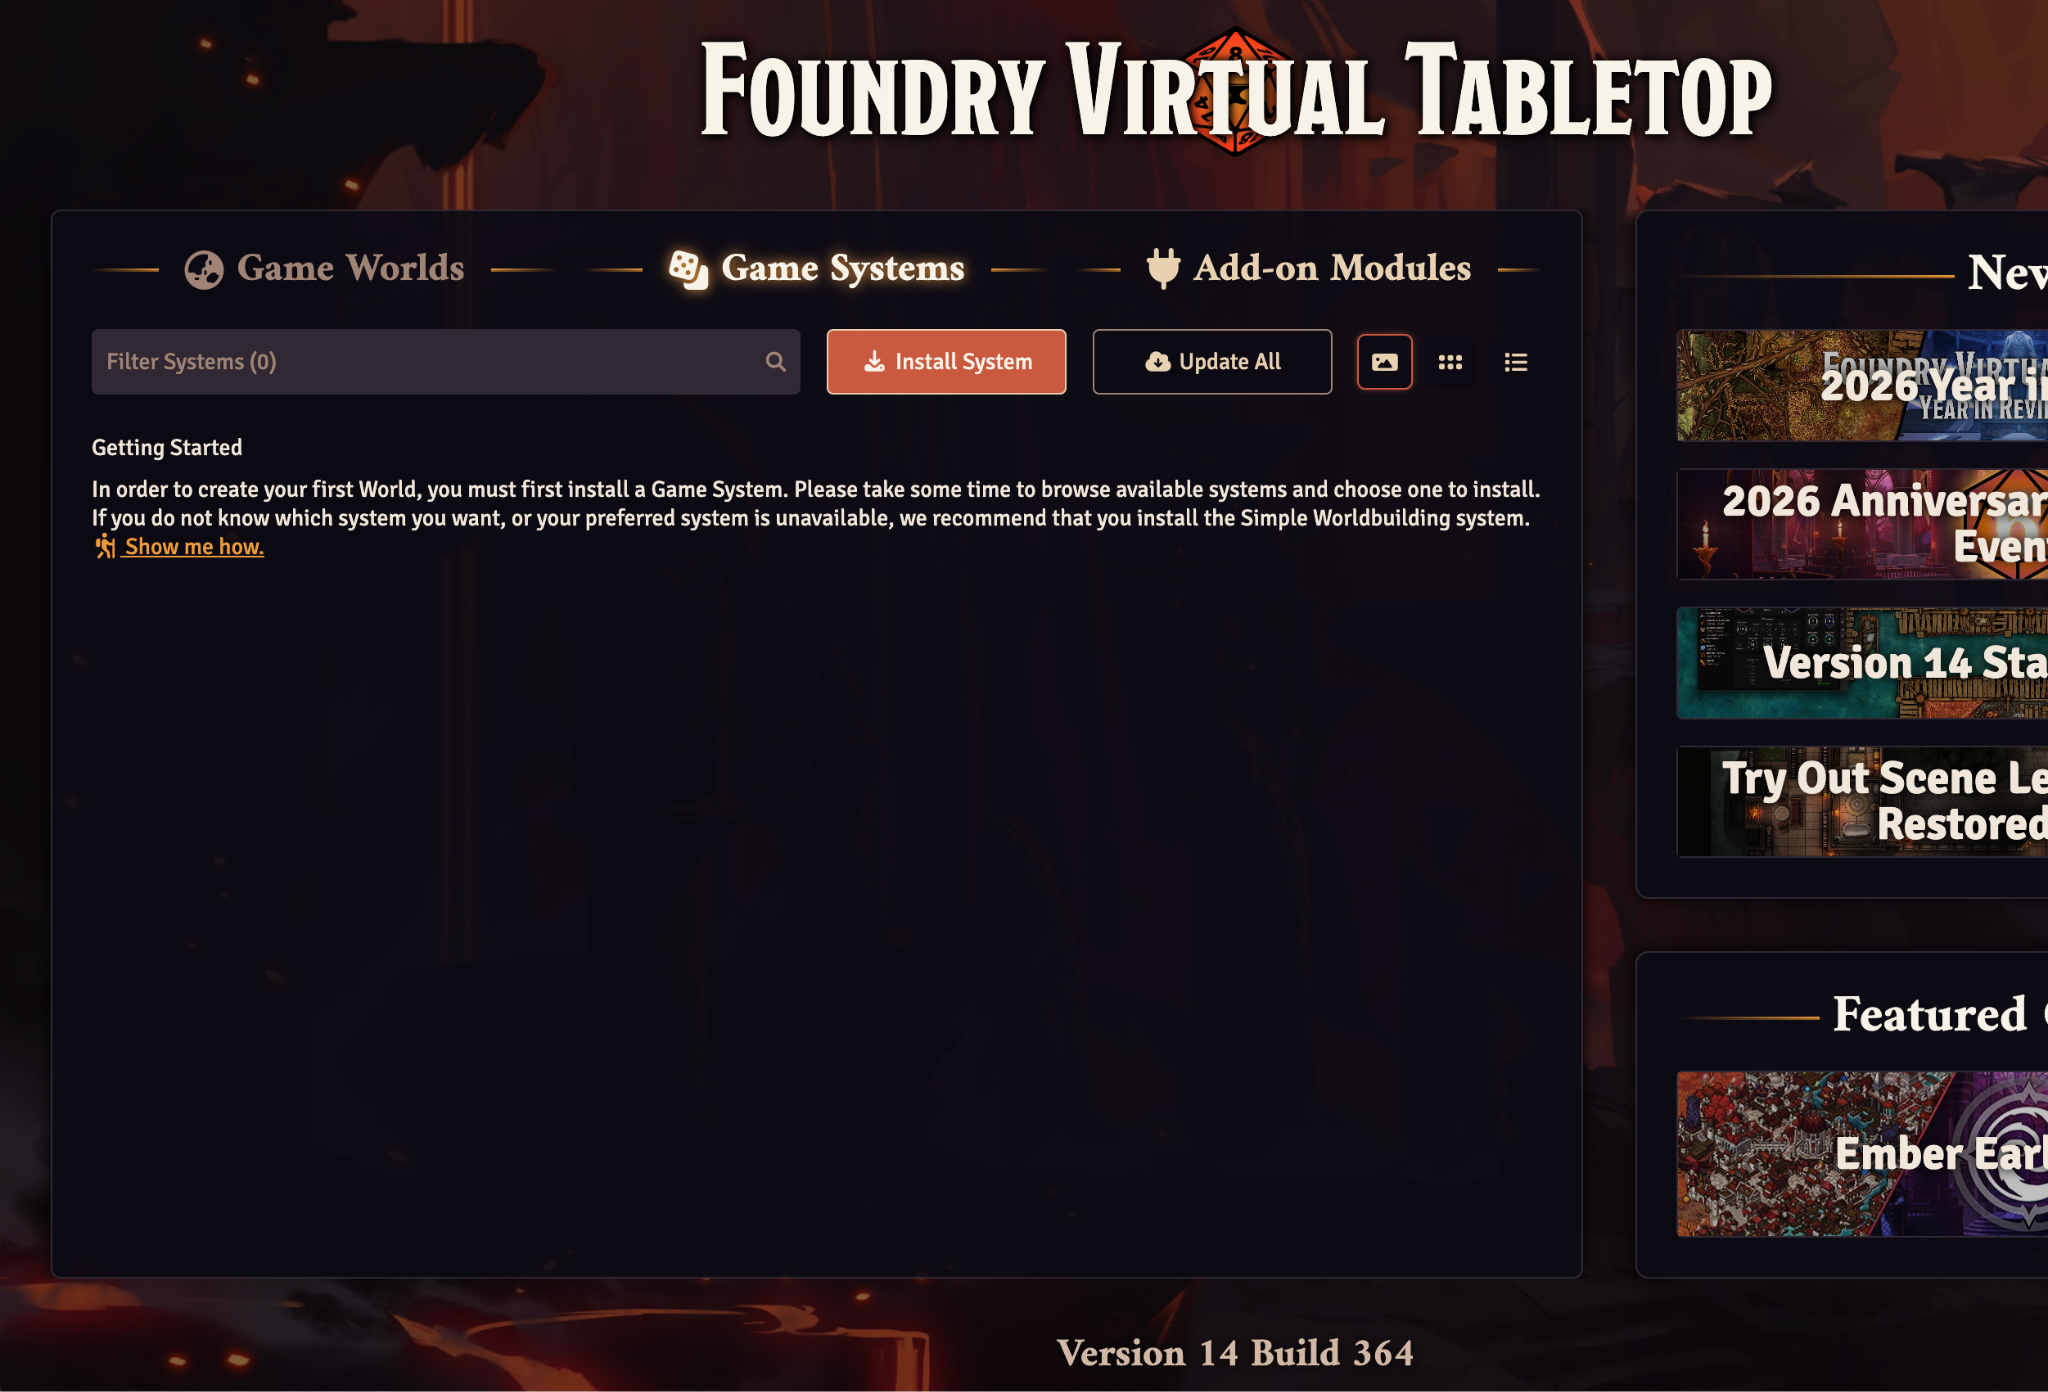
With Foundry VTT installed, the first thing to do is add the Board Tabletop module and your game system so Foundry knows how to run your campaign.
1. Open the Foundry VTT application on your computer.
2. Click "Add-on Modules" → “Install Module”, then search for Board Tabletop and click “Install” to add it.
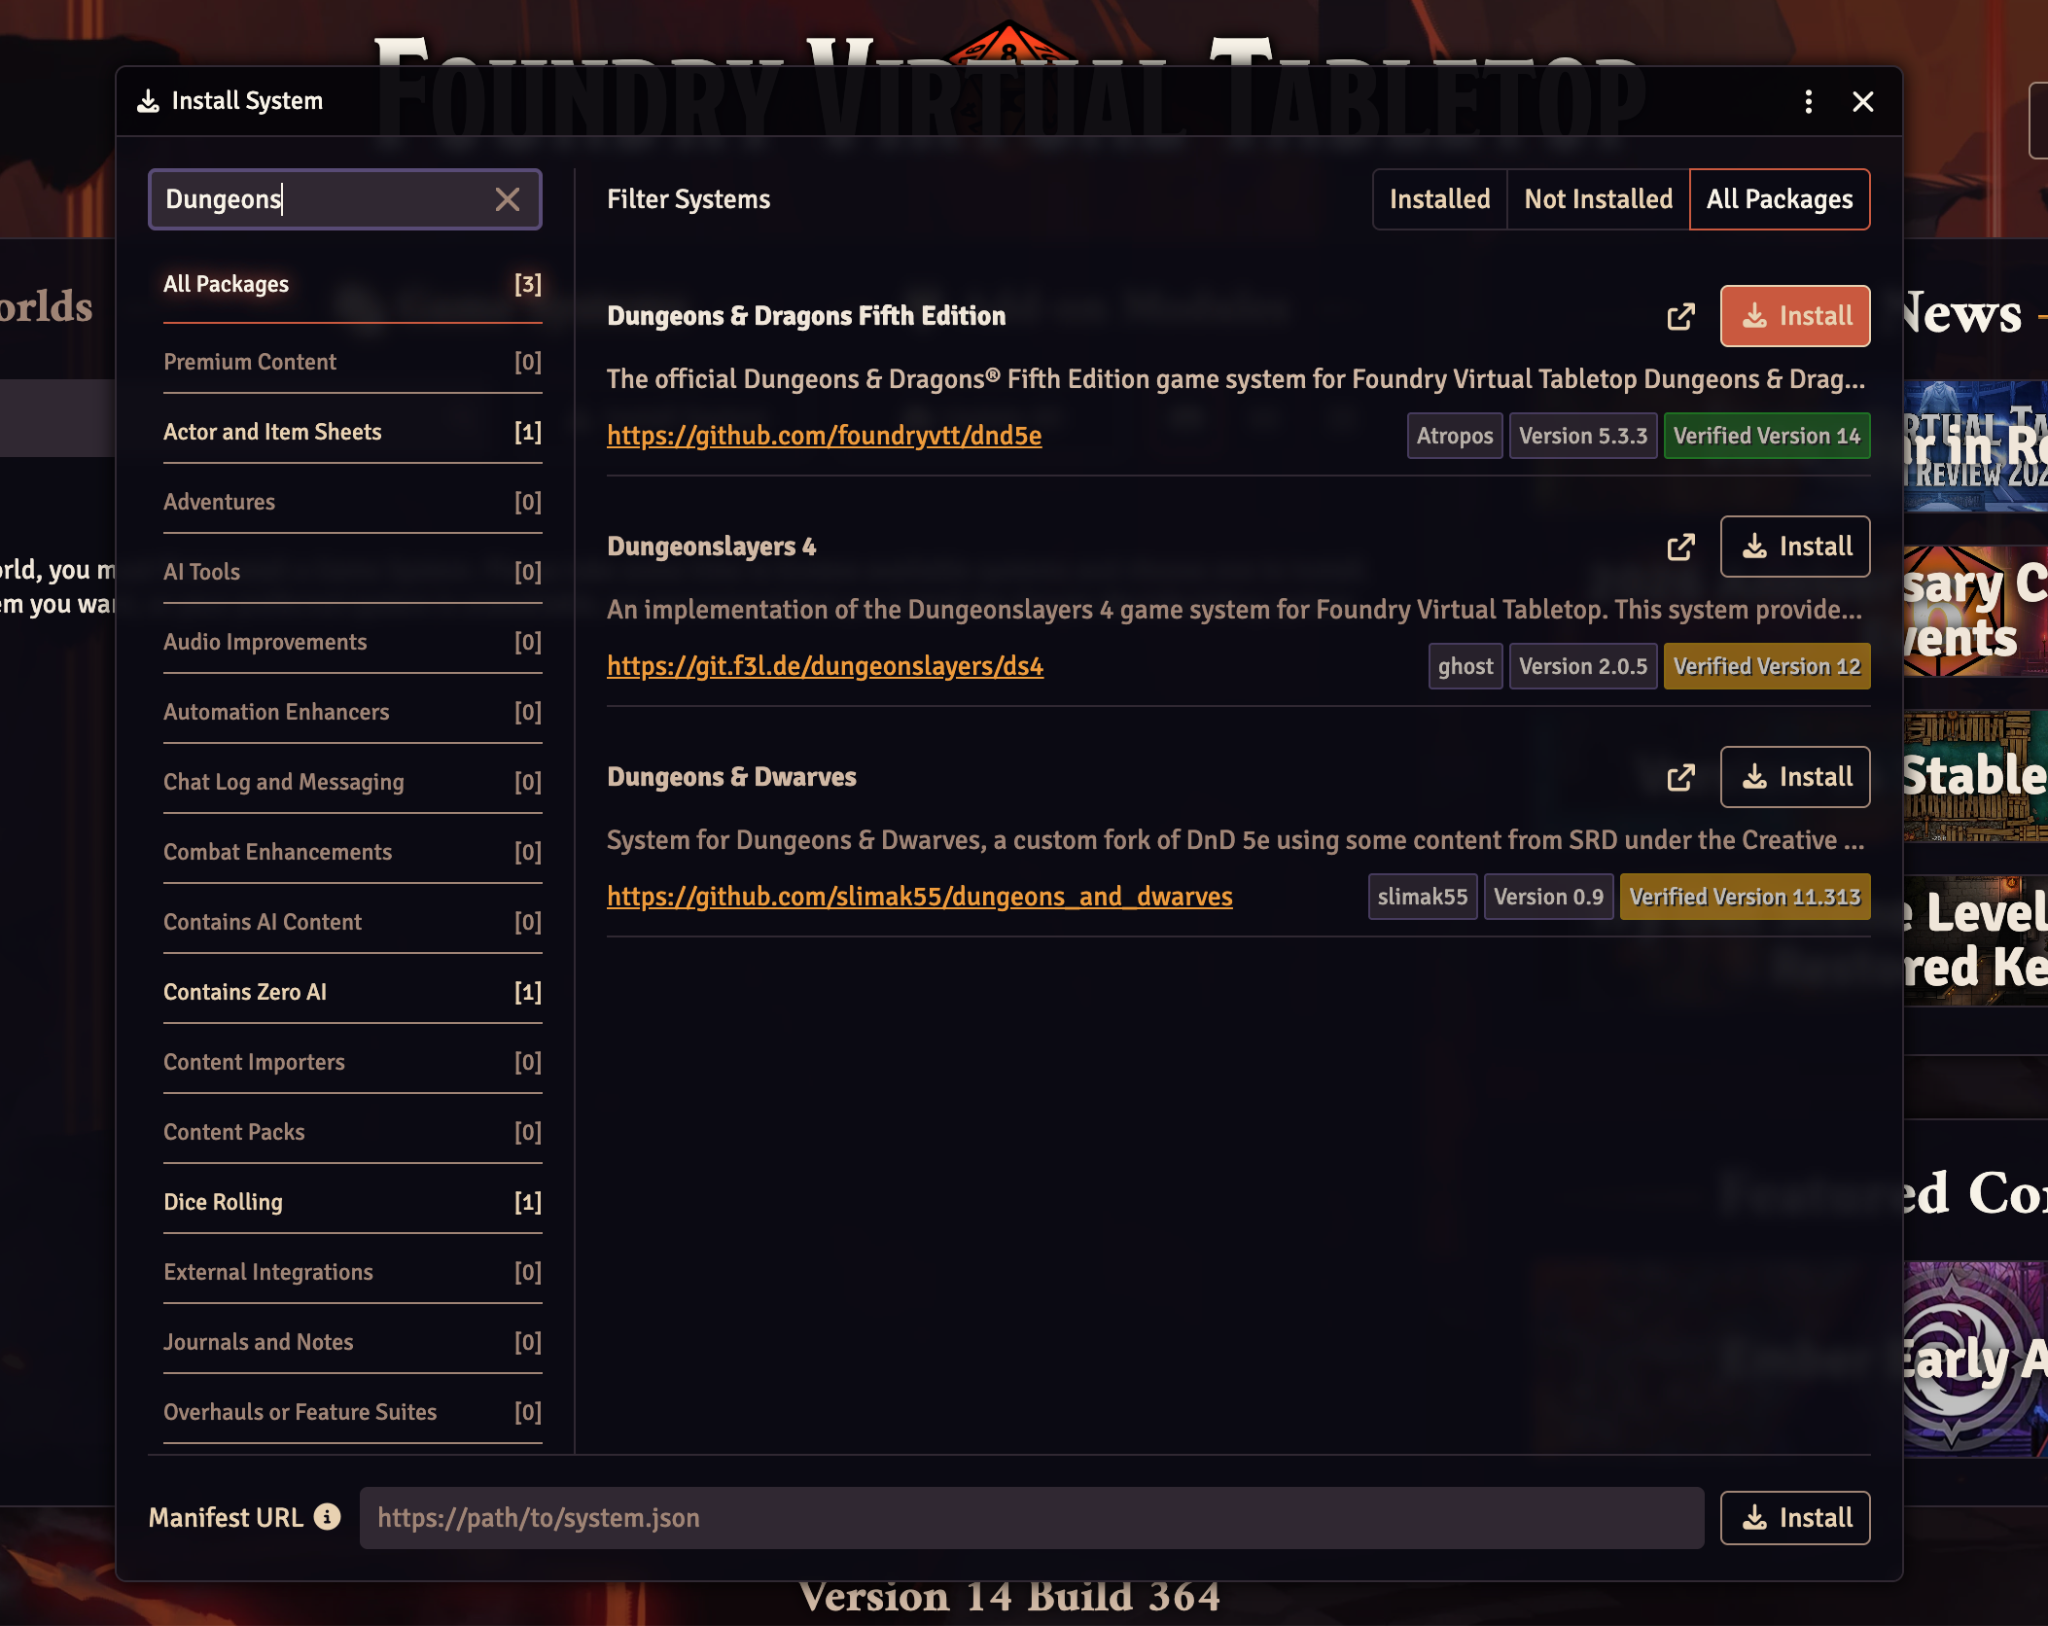
3. Click "Game Systems" → “Install System”, then search for your game system — Dungeons & Dragons Fifth Edition is the most common choice. Click “Install” to add it.
Step 2: Create Your Game World
You can either load a pre-built adventure or build your world from scratch.
1. Click "Game Worlds" near the top of the Foundry VTT home screen.
2. Click "Create World."
3. In the panel that appears, choose your Adventure on the left and your Game System on the right.
4. Give your world a name and fill in any other details you'd like, then click "Continue."
See here more information about Game Worlds and Add On Modules with Foundry
Step 3: Add a Board User & Enable the Module
For your Board to communicate with Foundry, it needs its own dedicated user account inside the game world.
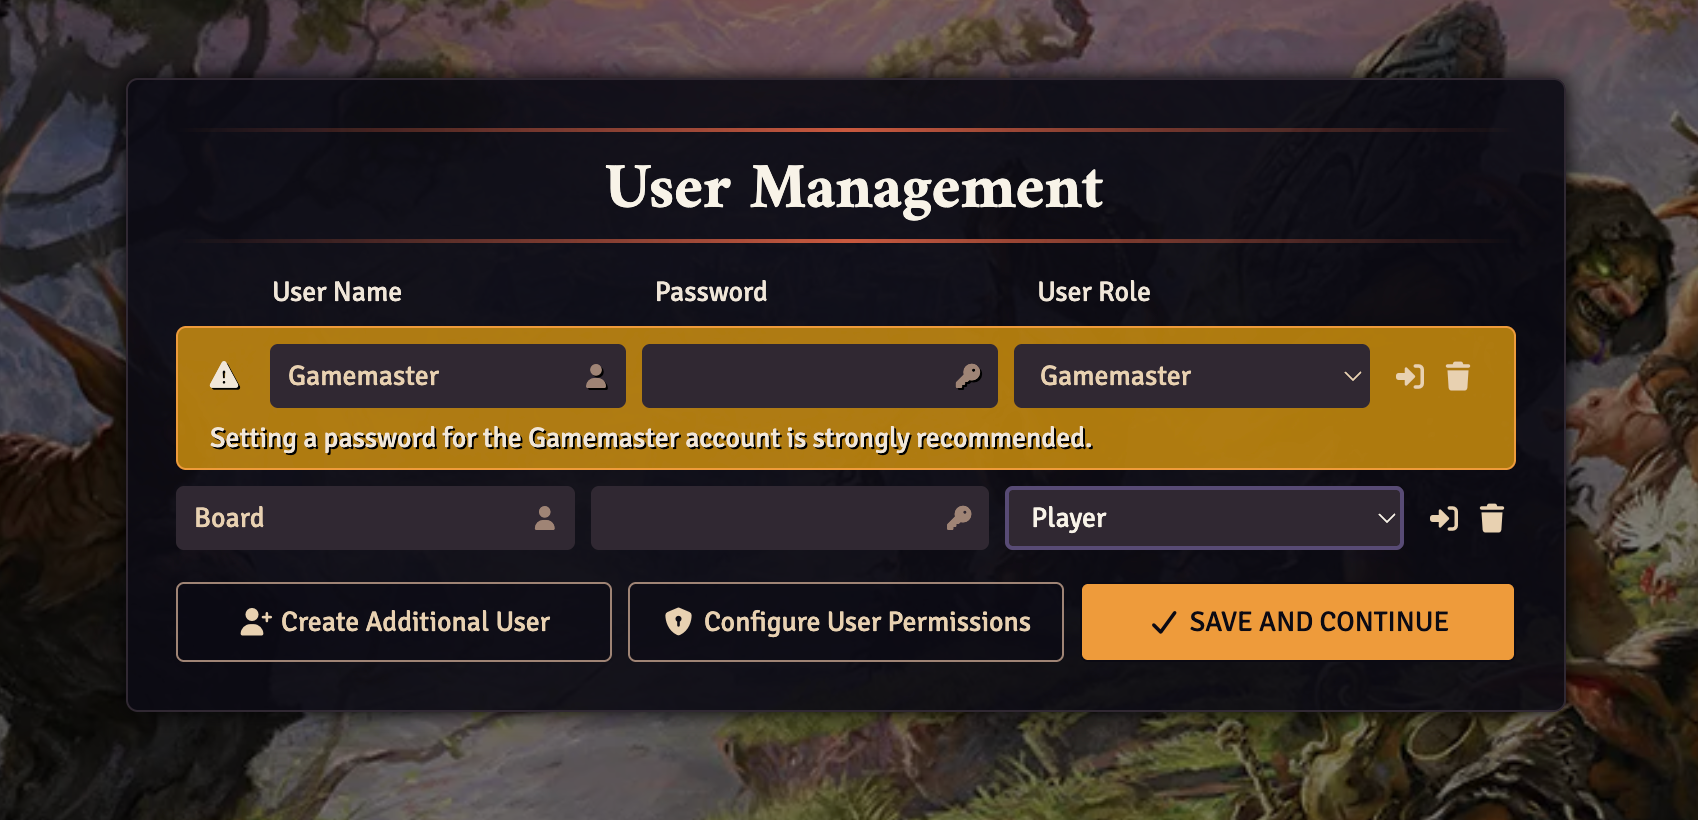
Create the Board's User Account
1. In User Management, click "Create Additional User"
2. Enter “Board” under User Name
3. Leave the password field blank
4. Make sure "Player" is selected under User Role
5. Click "Save and Continue"
Launch Your Adventure & Activate the Module
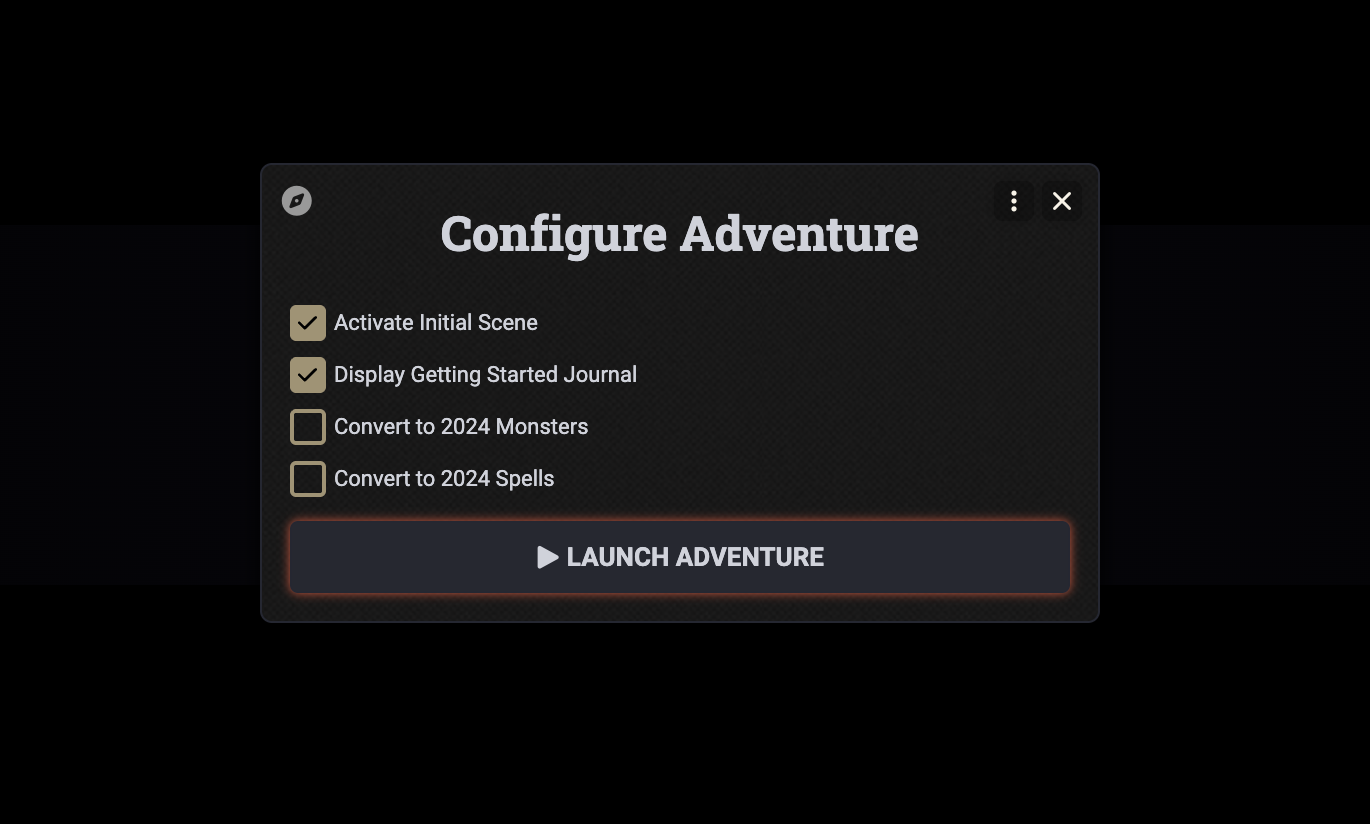
5. Configure your Adventure Settings to your liking, then click "Launch Adventure"
6. Once your campaign loads, open Settings by clicking the gear icon in the right-side menu. Select "Module Management"
7. Check the box next to "Board Tabletop" and click "Save Module Settings"
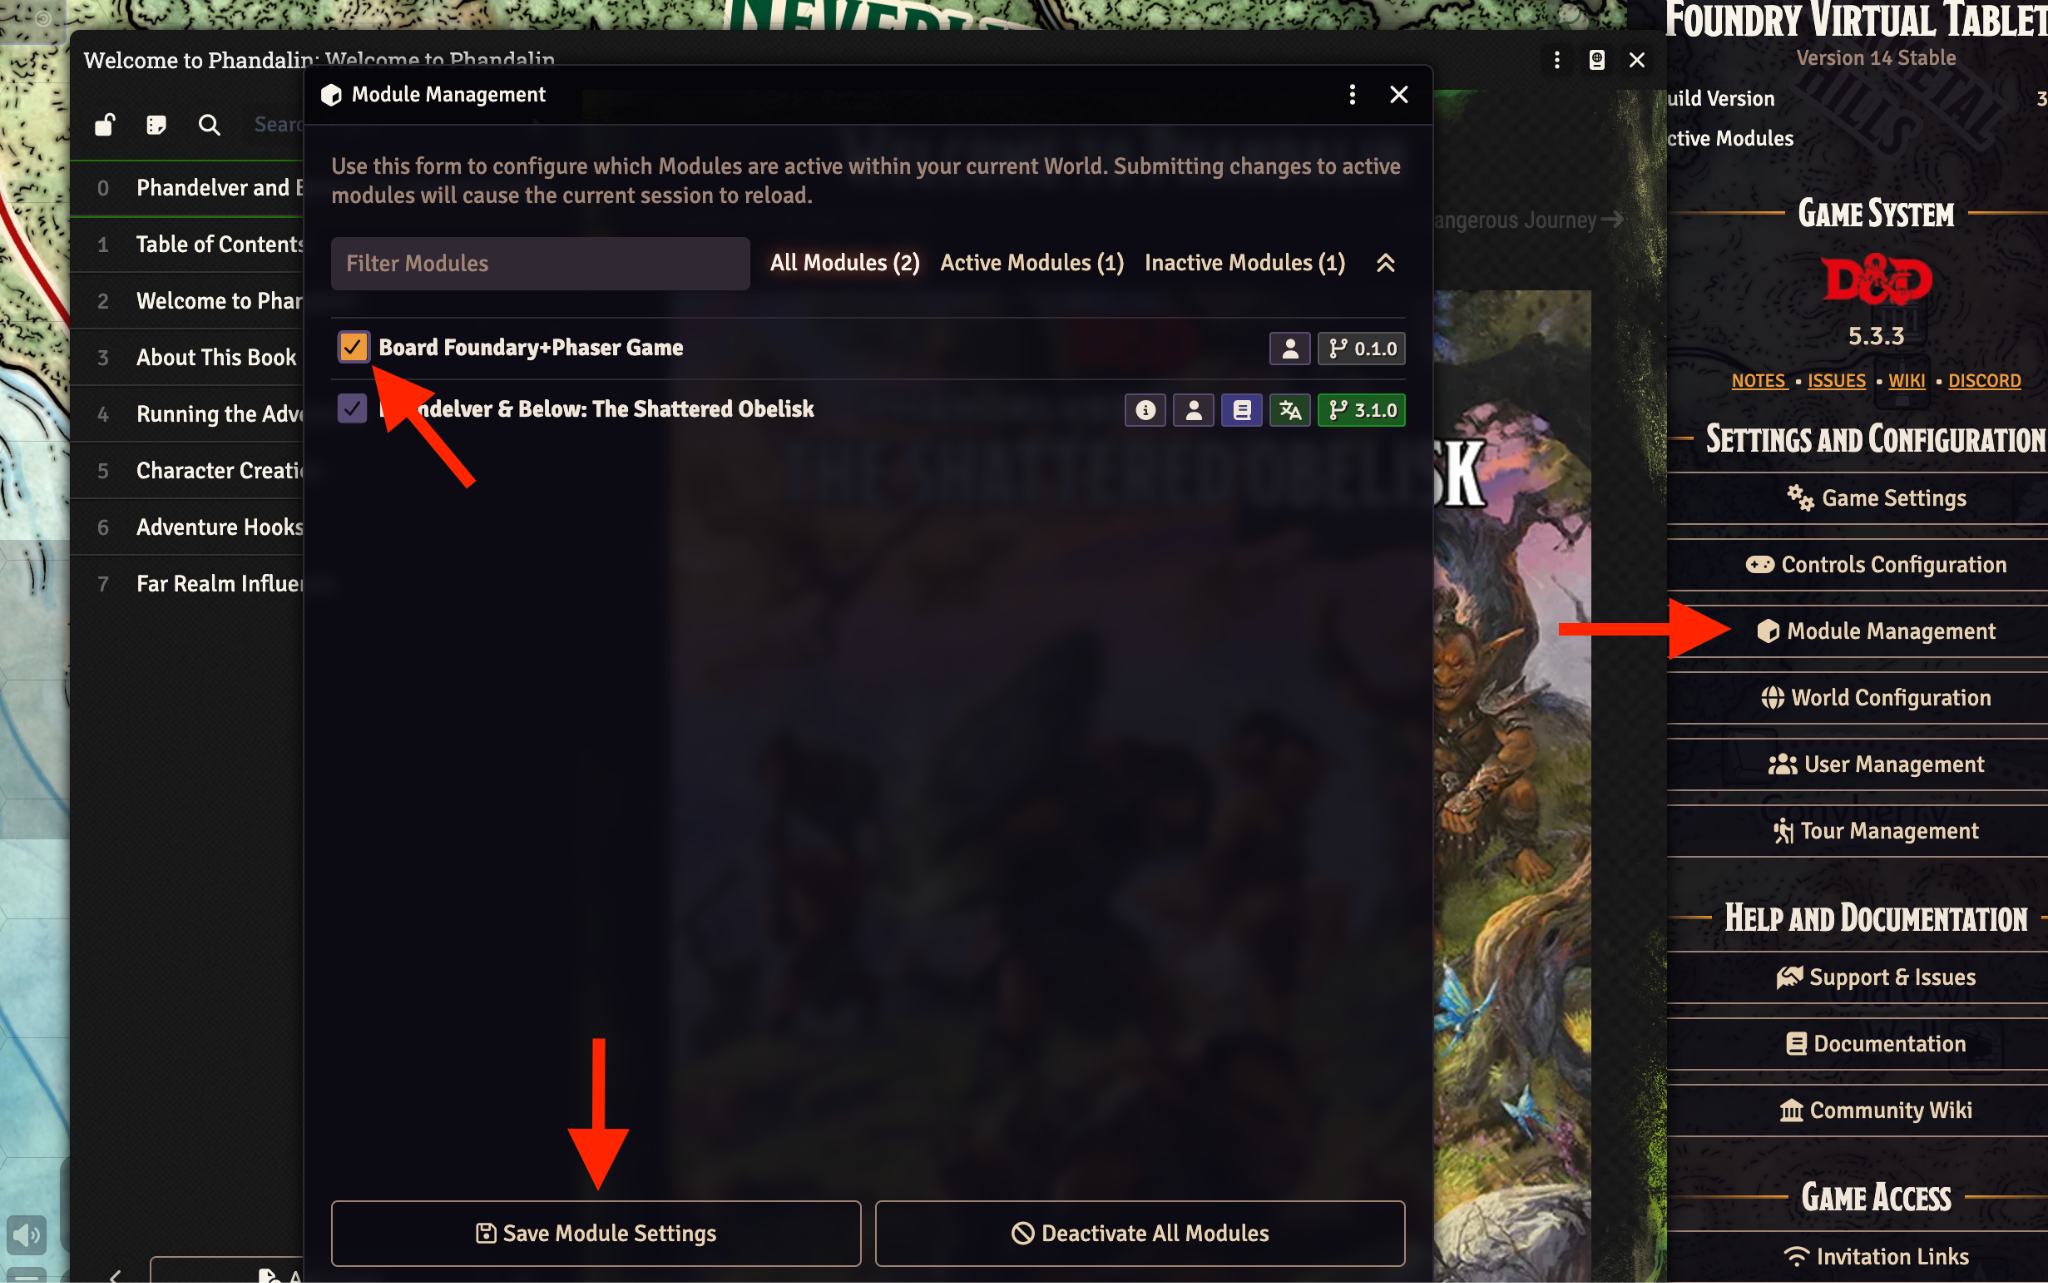
Note: The module must be enabled each time you create a new world. It is not turned on by default.
Step 4: Create Actors & Assign Them to the Board
Create Your Characters
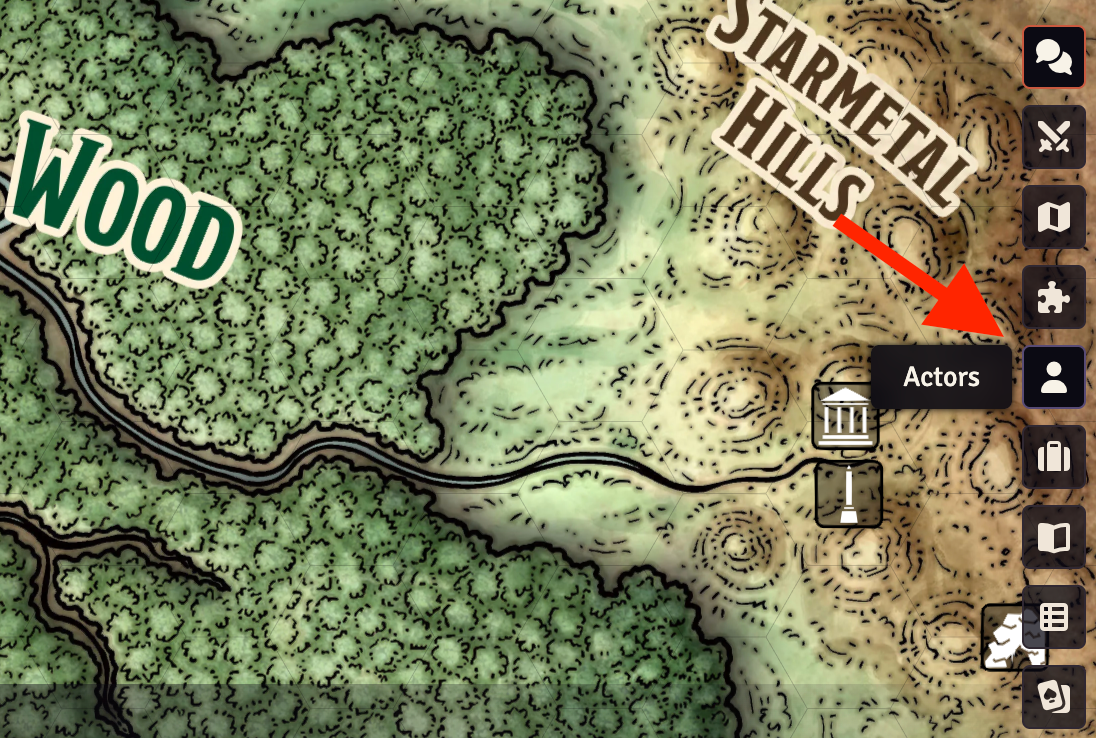
1. Click "Actors" from the right-side menu.
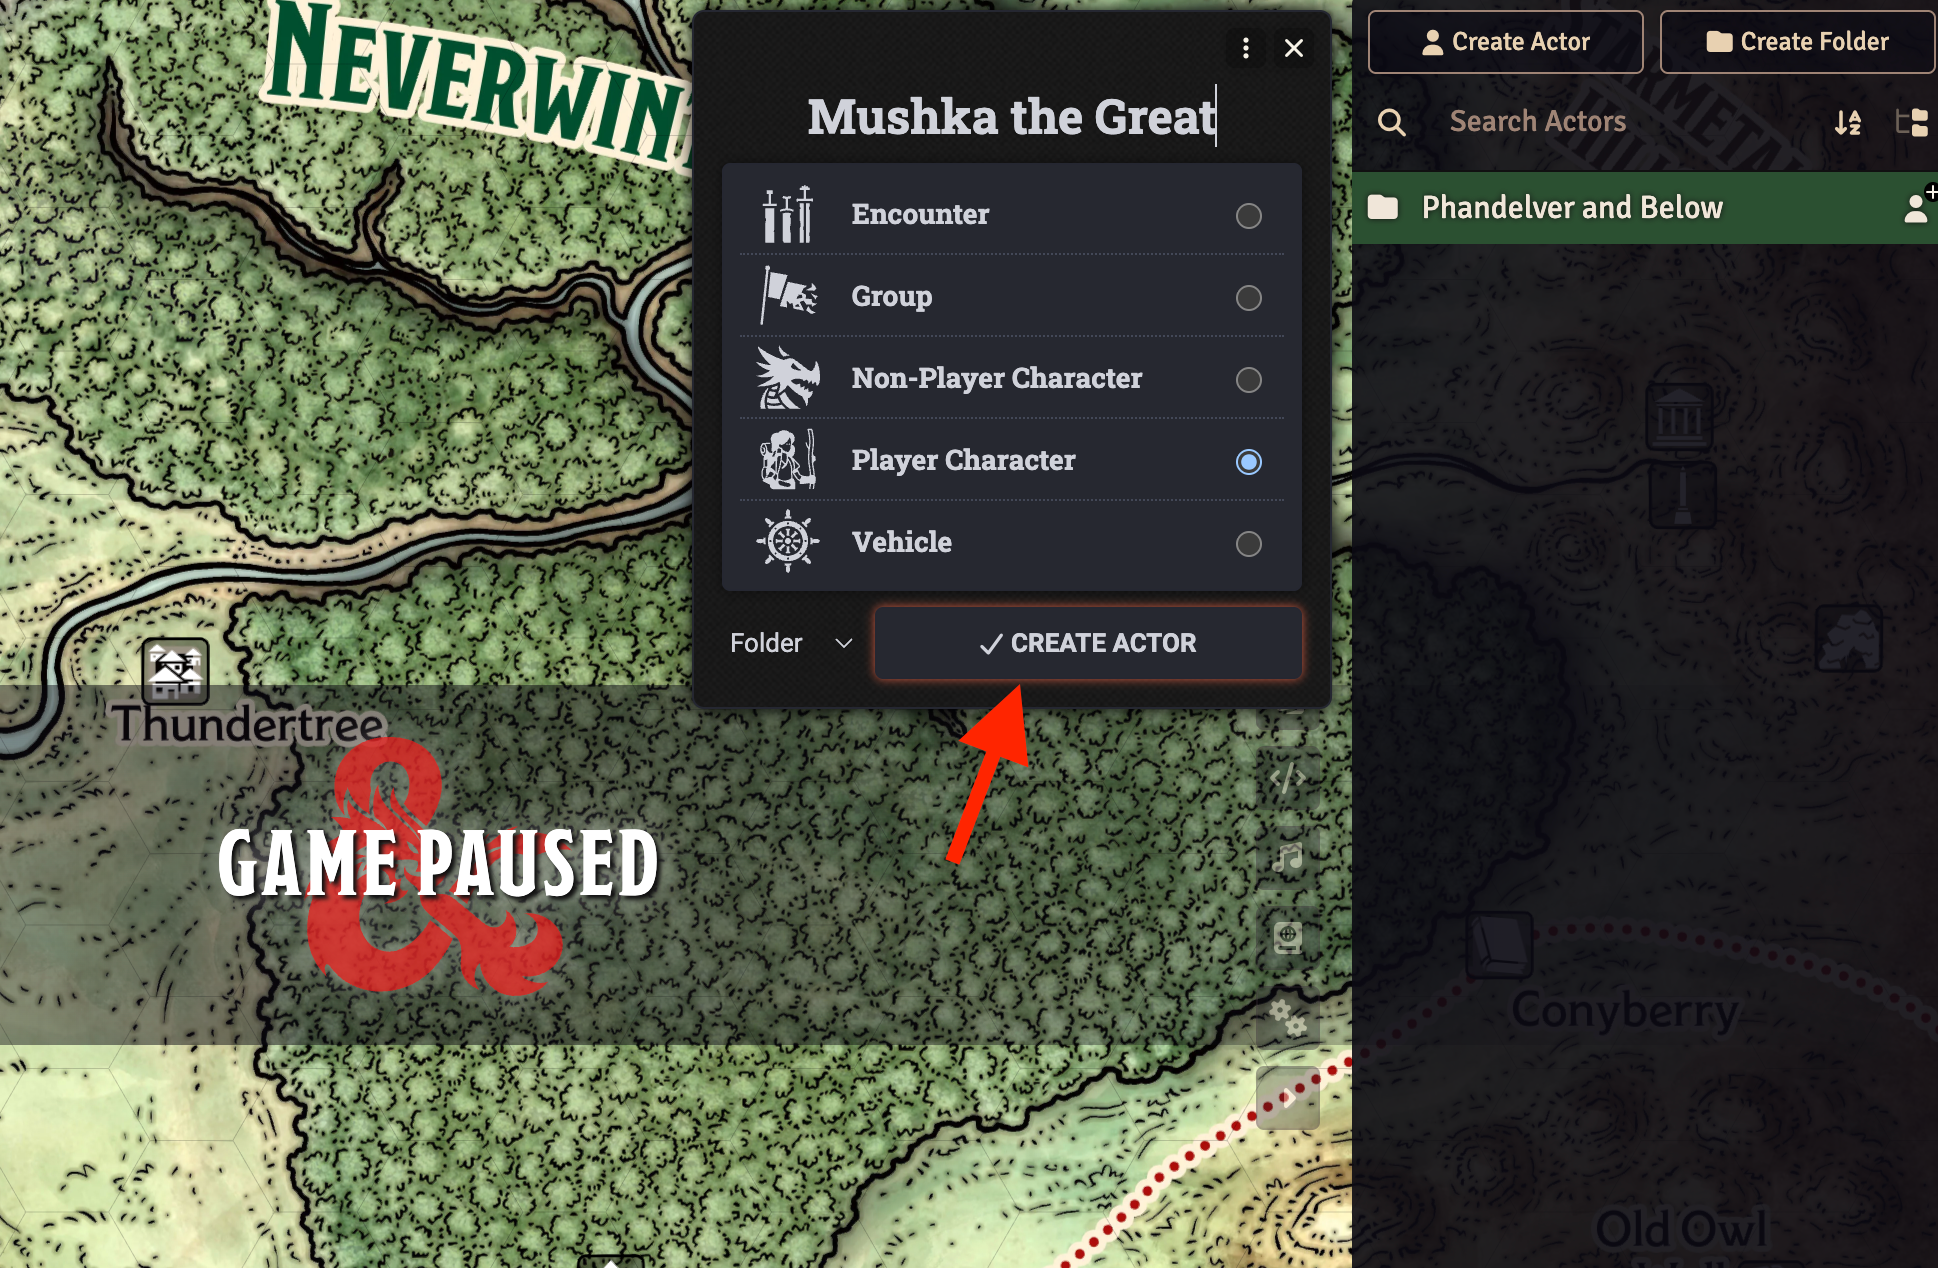
2. Click "Create Actor," give the character a name, and choose the Character Type. Click "Create Actor."
3. Repeat for every character who will be part of your campaign.
Give the Board Ownership of Each Character
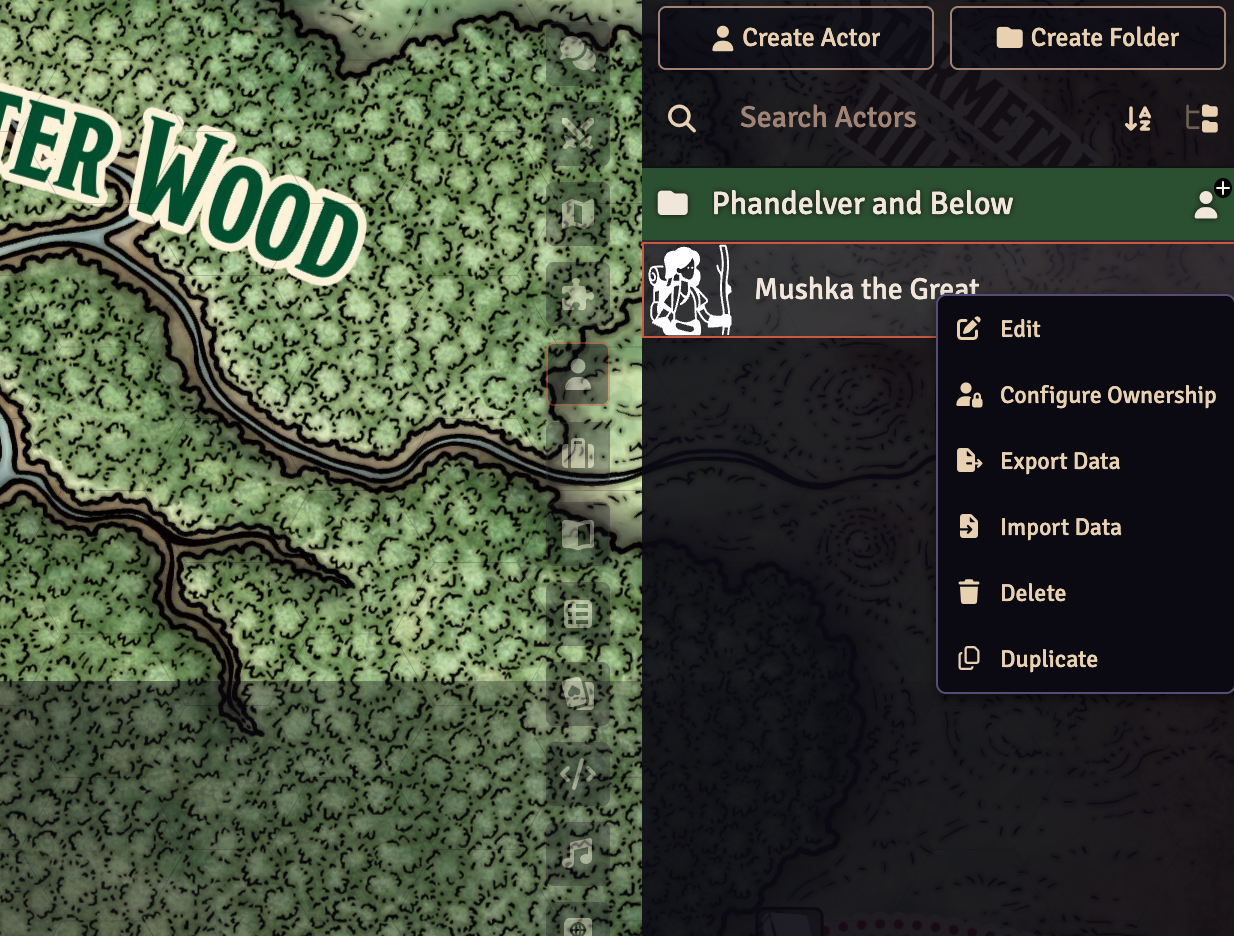
For each character that will be controlled using a Board Base, you need to grant the Board user ownership:
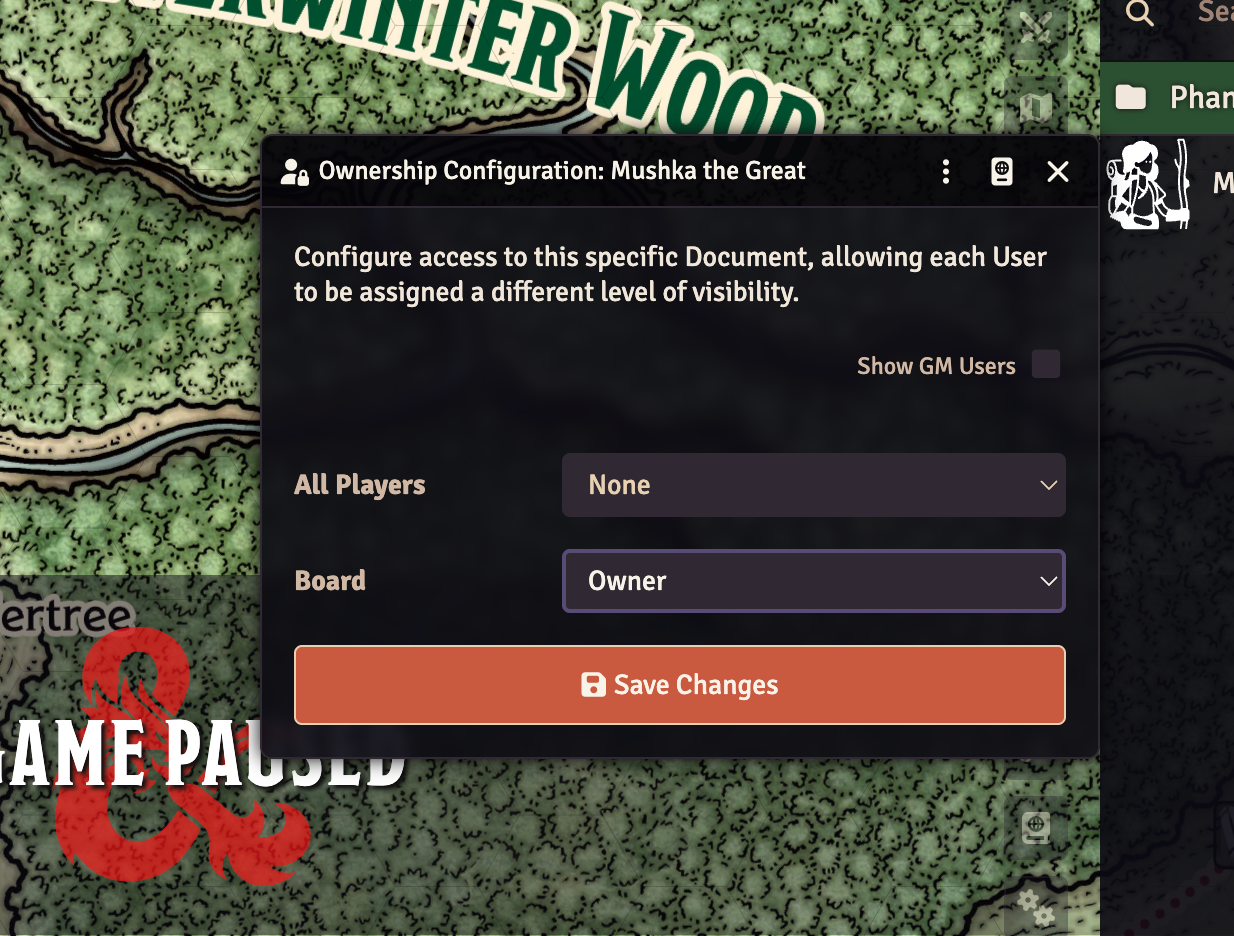
1. In the Actors list, right-click the character's name and select "Configure Ownership."
2. Change the Board user's permission to "Owner" and click "Save Changes."
3. Repeat this for every character that will have a Board Base connected to it.
Step 5: Connect Your Board to Foundry
Now it's time to link your physical Board to the Foundry game world using your local network.
Make sure your Board and your computer are on the same Wi-Fi network
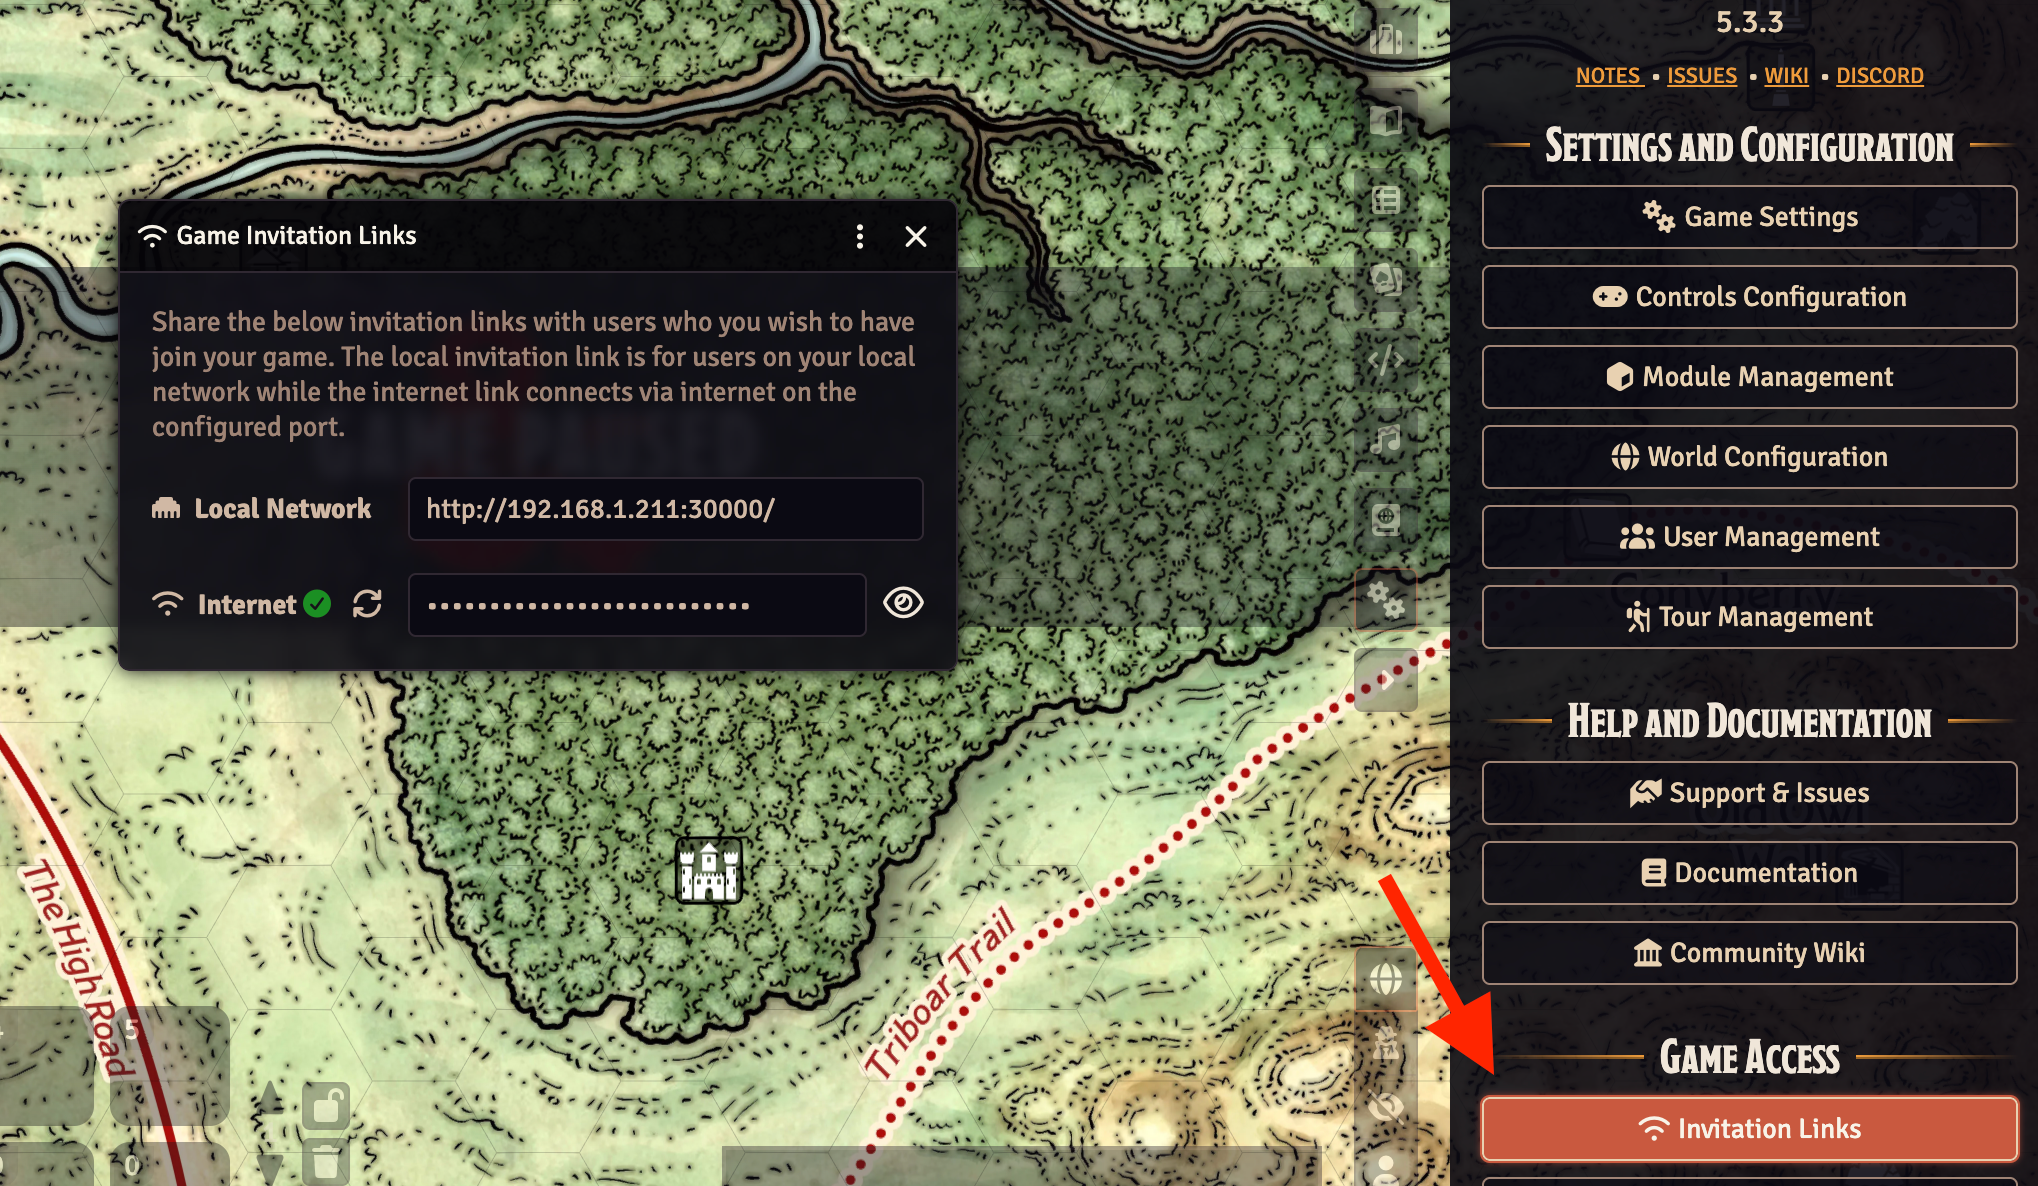
In Foundry VTT, open Settings (gear icon, right-side menu).
Under "Game Access," click "Invitation Links." You'll see a Local IP address here — keep this window open.
On your Board, open Board Tabletop.
Tap "Connect" in the box labeled "Connect to Foundry."
Enter the Local IP address from Foundry's Invitation Links screen, then tap "Connect."
Note: The connection may take a minute or two.
Step 6: Assign Actors to Your Board Bases
Once your Board connects and the game world loads, you'll be guided through linking each Board Base piece to a character. This is the final step before you're ready to play.
1. When prompted, tap ‘Set Up’ on your Board.
2. Place a Board Base piece into the circular outline shown on each character card on screen
3. Choose the visual effect you'd like for each character.
4. If you need to swap a Base piece for a different one, tap "Unbind" and place the new piece in the circle
Note: Once set up, each Base will be linked to its character — moving it on the physical board will move the token in Foundry. You're ready to play!